
Custom-Shaped Pouches: Uses, Design & Comparisons

Choosing custom-shaped pouches for your product
Custom-shaped pouches use a contoured outline to suit the product’s grip, dispensing or presentation needs. Handles, waists and dispensing corners can be combined with flat, stand-up or spouted designs. Start with the intended use and a dieline that shows the seal path and opening clearance as well as the outer shape.
Custom-shaped pouch specifications
Parameter | Specification |
|---|---|
Outline | The approved cutting drawing defines the external contour, corners, necks and handle openings. |
Material and sealing | The laminate and seal layout follow the contents, filling temperature and handling loads. |
Usable volume | Capacity is based on the internal contour, gusset expansion and filling headspace. |
Optional features | Tear notches, resealable closures and spouts are positioned on the drawing for the selected filling route. |
Gravure printing MOQ | 6,000 linear metres of printed film, measured along the roll. Bag quantity follows the print repeat, web layout and conversion allowance. |
Quotation | Itemized quotation within 24 business hours. |
Start your custom-shaped pouch request
Structure and filled-pack checks
Shaped pouches use contours, waists, handles or dispensing corners for product presentation and grip. They combine with flat, stand-up or spouted designs. Set volume, seal width and carrying features on the dieline.
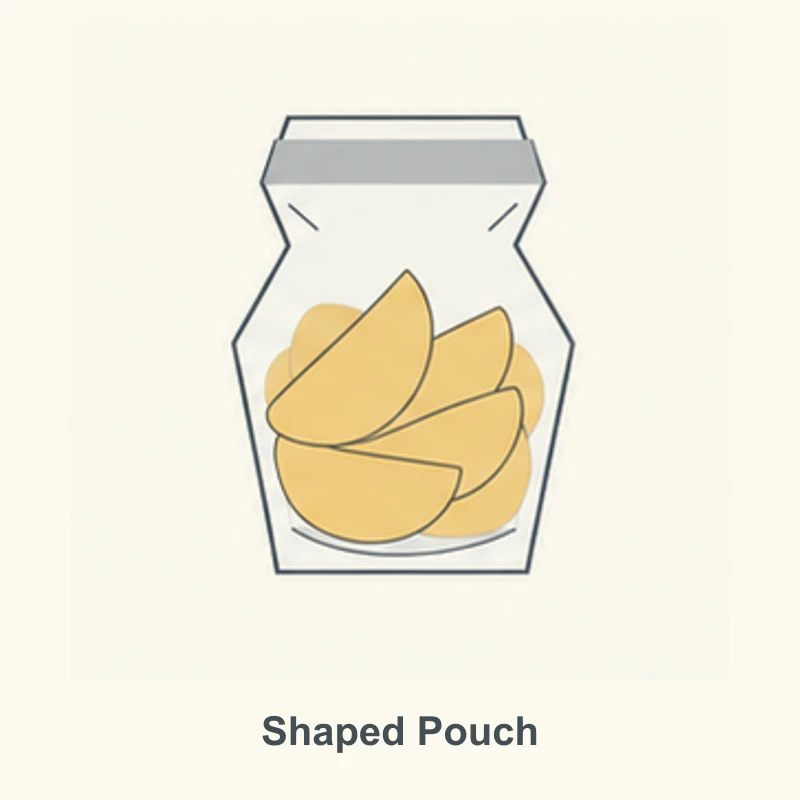
Construction details
Use the details below to review the drawing, filling process and filled sample.
1. Cut profile and seal path

Review the contour against a dieline. The outer profile and inner seal path must be considered together. Keep enough seal land around curves and check the final shape with an agreed drawing and sample.
2. Opening clearance

Make the shape practical to fill. A narrow shoulder or neck can limit filling access even when the lower body looks roomy. Confirm the actual opening, nozzle clearance and product shape.
3. Artwork safe area
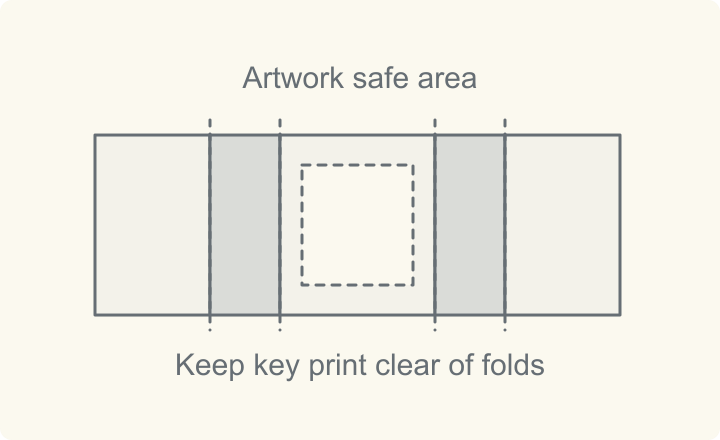
Place key information inside the safe zone. Use the agreed print and cut tolerances when placing artwork. Keep important text and codes away from the cut edge, seals and areas likely to fold.
Common applications
Brand-led retail portions
An outline can help a product stand out without relying only on print. Check that the pack still fits shelves, hanging displays and cartons. Keep essential information readable rather than forcing it into narrow curved areas.
Grip and controlled handling
A handle or shaped waist generally makes larger packs easier to grip. Set the cut-out and surrounding film for the filled weight, and check carrying with the intended product and hand conditions.
Liquid or gel dispensing
A shaped corner or compatible spout can direct product flow. Trial tear behavior, squeezing and residual contents. A pouring corner without a separate closure is usually a different user experience from a reclosable spout.
Advantages
A purposeful silhouette
Shape can communicate use or differentiate a product before the customer reads the label.
Potential handling improvements
A shaped grip or neck makes handling and dispensing easier when matched to the product.
Feature combinations
Specify the outline together with any standing base, zipper or spout.
Practical considerations
Tooling and yield
Include cutting tools, film use and production setup when costing a custom outline.
Stress and seal geometry
Tight corners or narrow regions can create vulnerable areas. Confirm radii, seal width and handling loads.
Line and carton fit
Set the contour for reliable feeding, filling, stacking and carton packing as well as its shelf appearance.
Compare bag types
Compared with stand-up pouches
A standard stand-up pouch is often worth trying first if the main requirement is upright display and convenient access. Add a shape only when the grip or presentation benefit survives filled-pack and line trials. Read the stand-up pouches guide.
Compared with three-side-seal bags
A rectangular flat pouch can simplify stacking and artwork for a single-use portion. A shaped flat pouch trades some geometric simplicity for a specific outline or opening experience. Read the three-side-seal bags guide.
Compared with spout pouches
A spout provides a controlled rigid opening; a shape controls the flexible body. They can be combined, but each feature brings separate sealing and usability checks. Read the spout pouches guide.
Specifications for your quote
Provide the specifications you know and mark any open items as "to confirm".
Specification | What to provide or verify |
|---|---|
Approved outline | Provide a dimensioned drawing including corner radii, seal margins, handle and opening positions. |
Use trial | Define target fill, grip, dispensing, standing and transport conditions before approving tooling. |
Product and protection | State contents, target fill, storage and distribution. Identify barrier, puncture, chemical or thermal requirements that need verification. |
Material and thickness | Choose the material structure and thickness for the application and agreed trials. |
Artwork and quantity | Provide print files or artwork status, finish, quantity per design and size, destination and required schedule. |
Sampling and documentation | Agree sample type, machine or filling trials, acceptance criteria and relevant supporting documents before order approval. |
Questions before ordering
How is a drawing prepared for pouch production?
Use the drawing as a starting point, then set seal widths, tooling, materials and filling access on the production dieline.
How is a carrying handle specified?
Set the handle cut-out and surrounding film for the stated filled weight, and use a representative load test for approval.
How can I combine a shaped outline, standing base and spout?
Show the outline, expanded base and spout position on one production drawing. Allow room for the seal path, filling access and usable volume, then check standing stability and dispensing with filled samples.
What are the MOQ, sample lead time and production schedule?
For gravure-printed packaging, the MOQ is 6,000 linear metres of printed film. Normal production takes 15 working days for a first order and 10 working days for a repeat order, counted from signing the formal contract. Shipping time is additional. Send your material, dimensions, quantity per design and artwork status so we can confirm the sample plan.
What evidence should be agreed before approval?
Confirm the specification, sample approval, relevant trial results and acceptance criteria. For regulated applications, identify the market, intended use, document issuer and scope.
Prepare your packaging request
Send the product, target fill, storage or shipping conditions, filling method, quantity per design and destination. Include a sample or drawing if available. Configure custom-shaped pouches and request a quote.
Compare all packaging types · Food packaging material guide · Procurement checklist